
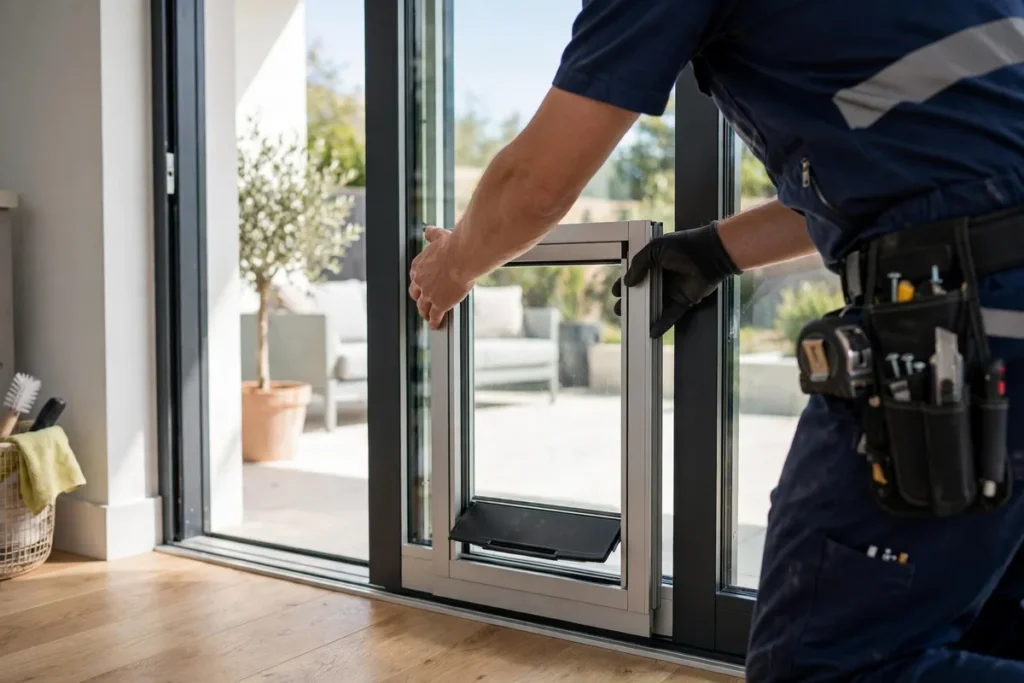
A pet door in a sliding door looks simple when it is finished: a neat flap low in the glass, a door that slides and locks like always. The process behind it is methodical, and knowing the steps helps you judge whether an installer is doing it properly. Here is the full sequence for pet door installation in sliding doors, from the first measurement to the last test.
The short version: survey, measure, manufacture the new panel, install it, seal the gap, test the flap. Your existing glass is never cut at any stage. It comes out intact and goes into storage.

Step 1: the survey
Everything starts with a site visit. The installer measures the sliding door panel that will carry the pet door: height, width, glass thickness, frame profile. The track gets checked too, because the new panel has to sit in it exactly like the old one. Anything unusual is noted now: a double-glazed unit, laminated glass, an extra-thick aluminium frame, a non-standard track.
The survey is also where the flap size is confirmed. For dogs, that means matching your dog to Medium (23 by 35 cm), Large (28 by 45 cm) or Extra-large (36 by 65 cm). For cats, it means choosing regular or large, with cats over 4.5 kg needing the large, plus the choice between a manual flap and a microchip flap that reads your cat’s implanted chip. The glass finish is chosen here as well: gray, green, brown or blue reflective, or transparent.
Step 2: measuring your pet
Flap sizing deserves its own step because it is the measurement owners get wrong most often. Measure your pet standing, not sitting. Shoulder height and chest width, then add a few centimetres of clearance so the animal passes through without ducking or squeezing. A flap with generous clearance still seals shut. A tight flap gets forced open and stops sealing.
For puppies and kittens, size for the adult animal. A flap that looks big on a young pet will fit it within months, and the glass panel is made once. If your pet sits between two sizes, the installer will recommend the larger one. This is the one measurement where bigger is safer.
Step 3: manufacturing the new panel
This is the stage that takes the most calendar time, and it happens off-site. The glazier cuts the new glass to the survey measurements and cuts the opening for the pet door frame. This cutting happens before tempering, because tempered safety glass cannot be cut or drilled afterwards. Any attempt would shatter the panel.
The pet door frame, in powder-coated aluminium, is fitted into the opening during assembly. Then the whole panel, flap frame included, goes through tempering as one unit. The result is a safety-glass panel with the pet door built in at the factory level: sealed edges, correct clearances, and a flap that sits square in its frame.
The glass finish chosen at the survey is applied here. An exact 100 percent colour match with your existing glass cannot be promised, because many UAE projects use exclusive glass batches, but the panel is made as close as the market allows. Slight colour variation between old and new glass is normal.
Tempering is what makes the finished panel safety glass. The panel is heated and then cooled rapidly, which puts the glass surfaces into compression. That is why a tempered panel breaks into small blunt pieces instead of sharp shards, and it is also why the opening must be cut before this stage. Once tempered, the panel’s dimensions are final.
Step 4: installation day
Installation day is the shortest stage. The installer removes your existing glass panel intact and sets it aside. The new panel goes into the frame and the track. The pet door flap is checked for free movement. Then the weather strip goes along the interlock, the overlap where the two sliding panels meet, sealing the gap the new panel creates.
The on-site work usually takes a couple of hours. Before leaving, the installer tests everything with you watching: the door slides, the door locks, the flap swings freely and seals shut. Your original glass panel is handed to you for storage. Renters keep it for move-out day.
The weather strip deserves attention because it is the most commonly skipped part. It runs the full height of the interlock and closes the channel between the overlapping panels. Without it, cooled air leaks out and fine dust leaks in, and the installation quietly costs you money every summer afternoon.
Weather strips are sometimes included in the installation offer and sometimes added separately for AED 250. Confirm it before installation day, and check on the day that it is actually fitted. Run your hand along the interlock with the door closed. You should feel no draught.
After the installer leaves
Most pets learn the flap within days. Prop it open at first so the animal gets used to the opening, then let it swing freely. Treats on the far side do the rest. Cats typically take to it faster than dogs, and microchip flaps need a programming pass: put the flap in learn mode, let your cat through once, and its chip is stored.
Store the original glass panel upright, somewhere it cannot fall or take a knock. It is your deposit protection if you rent, and your spare panel if you own. Wipe the weather strip when you clean the tracks. Other than that, the installation looks after itself.
Give nervous pets time. Some dogs touch the flap with a nose and walk through within the hour. Others need a week of propped-open practice. Never push an animal through the flap; let curiosity and treats do the work. If a pet still refuses the flap after two weeks, check the obvious: the flap swings freely, the opening is tall enough, and nothing about the new panel startles them.
That is the whole process: measured, made, fitted. If you are ready to start it, look through the pet door options for sliding doors and book a survey. The first step is someone with a tape measure at your door.
Keep reading: Doggy Doors for Sliding Doors, the simplified buying guide.
FAQ
What is the first step?
It starts with a survey. The installer visits, measures the sliding door, checks the frame and track, confirms the flap size and glass finish, and notes anything unusual such as a double-glazed unit or a non-standard track.
How is the new glass panel made?
The opening for the pet door is cut into the glass before tempering, because tempered glass cannot be cut afterwards. The flap frame is fitted during assembly, and the finished panel is tempered as one unit.
How do you measure for the flap size?
A few centimetres of clearance beyond your pet’s shoulder height and chest width. For dogs: Medium 23 by 35 cm, Large 28 by 45 cm, Extra-large 36 by 65 cm. For cats: regular, or large for cats over 4.5 kg.
How long does the process take?
The made-to-order panel takes the most time, since it is cut, assembled and tempered before delivery. The on-site installation usually takes a couple of hours.
What happens on installation day?
The old panel comes out, the new panel goes in, the weather strip is fitted along the interlock, and the flap is tested. Your original glass is handed to you for storage.
What happens to my original glass?
It is removed intact on installation day and handed to you. Renters store it and have it reinstalled at move-out, which returns the door to its original state.
Does the door still lock and slide normally afterwards?
Yes. The track, handle and lock are untouched by the panel swap, so the door slides and locks exactly as before.


